# Event Groups
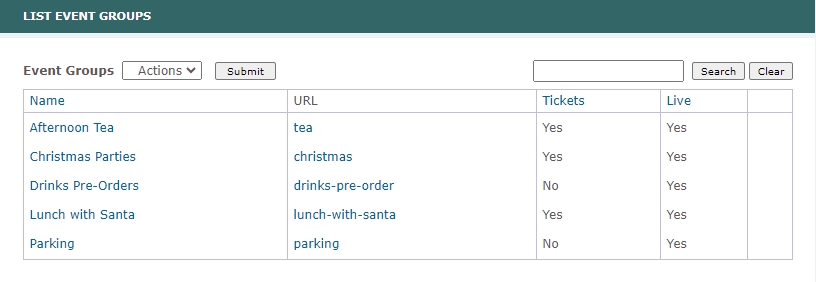
The main screen for Event Groups page, accessed through Set Up Menu > Event Groups, presents a list of all configured event groups. By clicking on a chosen event group, the subsequent screen will display all events within that group and also offer the option to add new events. You can also initiate the creation of a new event group by selecting the Add option from the Actions menu in the main screen of Event Groups.
WARNING
Events can only be added to an event group, therefore, in order to add an event, please add event group first.
TIP
The URL displayed in the List Event Groups and Display Event Group screens can be clicked, allowing you to preview how the event group and specific event appear on the live client site.
# Add New Event Group
If you chose the Add action in the main screen to create a new event group, the subsequent Add a New Event Group screen will allow you to input information into the fields for the Event Group.
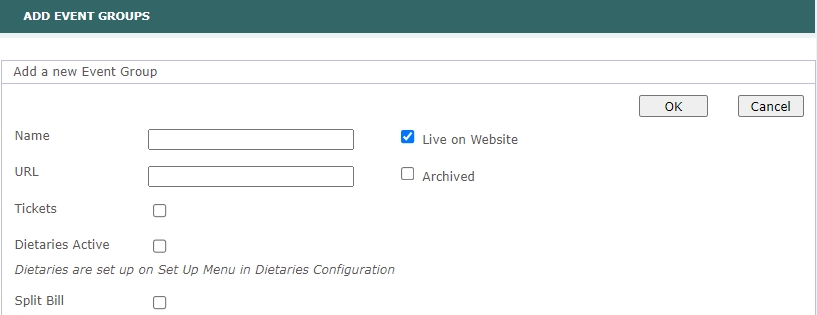
Name and URL are mandatory fields on this screen, and you also have the option to provide information for these additional fields:
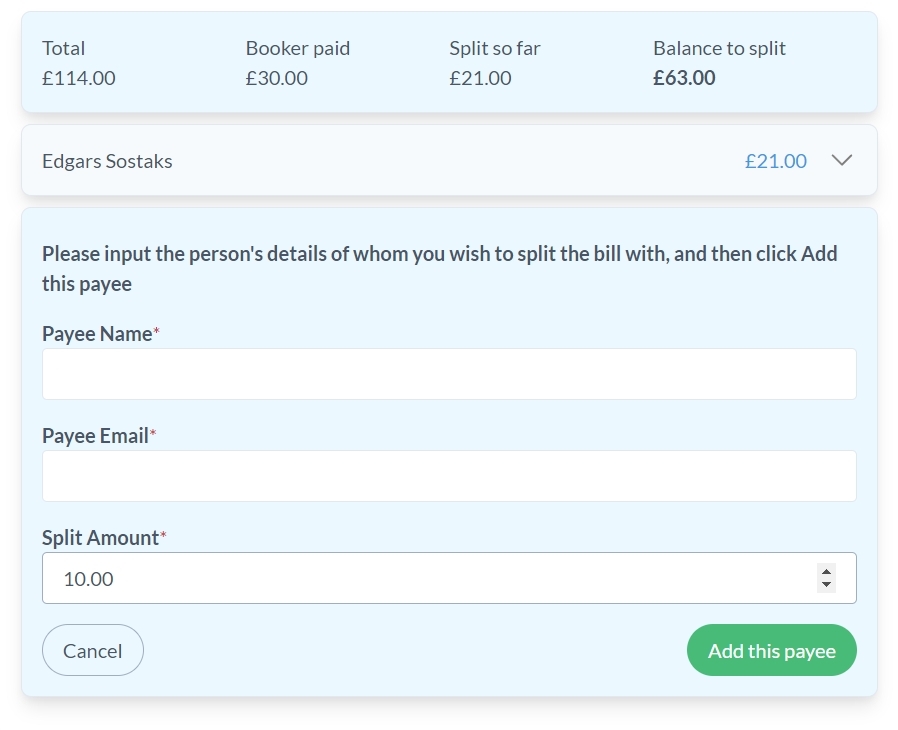
Name- name of the event group.Live on Website- mark if the event group should be visible on the client site. Please not that only event groups with active events will be displayed.URLor slug - is a part of the URL which the event group will be using, for example for Christmas event group you can use a slug "christmas-parties". No spaces are allowed in this field. Every event group must have a unique slug.Archived- mark if the card of the event group should be archived. When an event group (and all of its events) is archived, it will not appear on the client's site, even if theLivecheckbox is ticked.Tickets- when tickets are not selected, clients will have Express Checkout, which is considerably shorter than the regular checkout process. With Express Checkout, there is no need to create an account or log in to place an order, unlike the regular checkout where account creation or login is required.Dietaries Active- select to enable dietaries for the event group.Split Bill- ticking this checkbox will make theSplit Billbutton visible on the client site, as shown in the image below.

The Split Bill feature allows you to divide your bill with another person by specifying the exact amount you would like them to pay. Once you have entered this person's data, an email containing a payment link will be sent to the designated recipient.
Enable Checkout Button- select to enable the checkout button on the customer site as seen in the image below.

This option allows the 'Checkout' button to appear on all product group selection pages except the last one once any product is selected, rather than requiring users to navigate through every page. This makes the checkout process faster and more convenient for customers who have already selected their desired products.
Event Group Logo- will appear on the client site when clicking into an Event Group's Card and throughout the checkout process.Image- displayed on the Customer site's landing page as the Event Group Card's background. The Event Group Card will appear on the page whenever there is an active event within the group. Please ensure the image does not exceed a size of 1000 x 1000px.
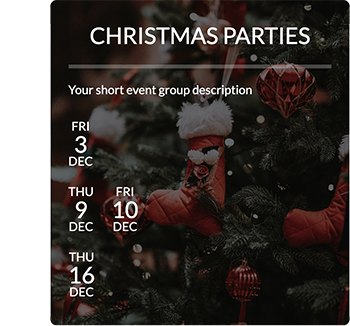
Event Card Images- these are images displayed on the event group's home page. Please ensure that images do not exceed a size of 600 x 600px.

TIP
To change any of the images, please upload a new image.
Short Description- displayed on the event group card.Long Description- displayed on the event group page above the listed event cards.
# Edit Event Group
Instead of creating a new event group, you can also choose to edit an existing event group by selecting it in Set Up Menu > Event Groups and then clicking on the Modify button. This action will open the Modify Event Group screen, which contains similar content as the Add a New Event Group screen, but with pre-filled fields and displayed associated images.
# Add New Event
If you wish to add a new event, navigate to Set Up Menu > Event Groups, click on the desired event group, and then choose the Add option from the actions.
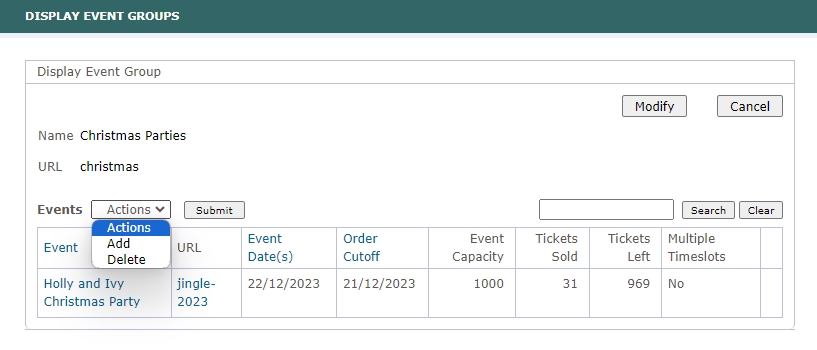
When creating a new event, the mandatory fields on the Add a New Event screen are Event Group, Event Title, Event URL, Event Date, Final Payment Date, Event Archive Date, Event Capacity, Tariff and Event Coordinator. For more detailed information about the event input fields, please refer to event cloning section of the Events page.
TIP
Before creating an event, please make sure you have created the products and the tariff with prices it will use. To configure tariffs, please visit Tariffs page. To add a new product, you can either create a new Product Group or use an existing one, and then add a new Product by selecting the Add option for the chosen Product Group.
# Early Bird Discount
On the Event screen, in the right column, whether you're adding a new event or modifying an existing one, you have the option to specify the Early Bird Discount values as displayed in the image below.
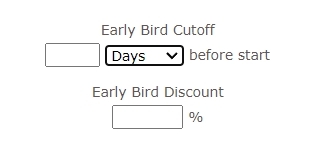
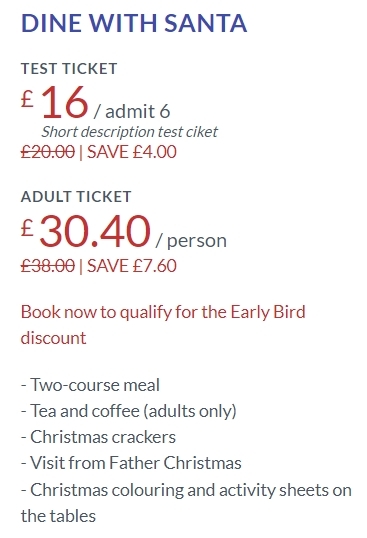
Here, you can enter the number of days/months before the event that the Early Bird Discount will be active and set the discount percentage. This way you can provide discount to customers who are ready to book tickets early. If the Early Bird Discount is configured for the event, the client site will display it as seen in the image below.
